- Joined
- Aug 25, 2010
- Messages
- 533
- Points
- 63
Hello guys!
I have been missing from this forum for some time.
I have not forget the years that I spent here with You but ... I have lost interest in the laser world, sorry.
Besides this, I have severe lack of money and my health is not good, so I will sell soon some items of my collection here.
I'm going through a very bad period of my life.
Luckly, I'm making huge progress in the fireworks field.
I built and launched a giant rocket with a 8" shell attached on the top containing Kamuro stars with strobe cores and
dragon eggs.
I created and perfectioned a new rocket with a new custom hybrid propellant mix.
I used a mix of BP and KP: 20 parts of KP for every 100 parts of BP.
Please remember that "KP" term is not the perchlorate acronym as often is mislabeled but the Shimizu burst charge formula:
70% Potassium perchlorate
18% Charcoal
12% Sulfur
02% Dextrin
Then, I added 2% of titanium sponge 400-1000 for a nice tail and finally 5% of phenolic resin.
Why phenolic resin?
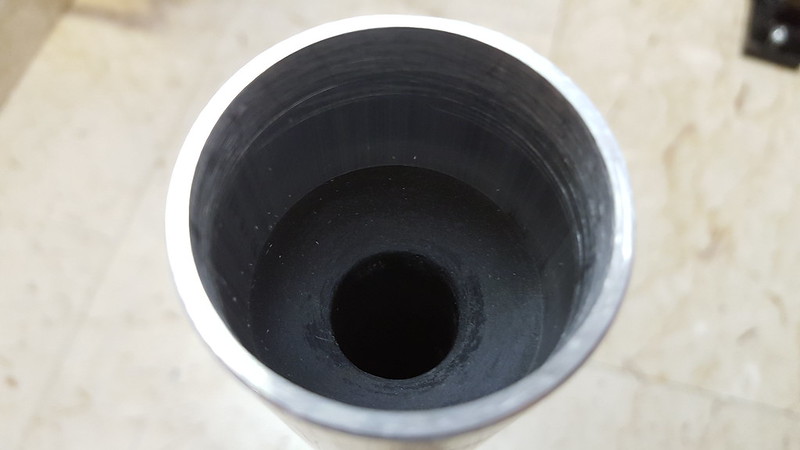
Well, I suffered important fuel relaxation using BP with 2% paraffin wax into an aluminum tube.
Same soup increasing the wax percentage or using 1% water instead.
I tried to scratch the internal walls of the tube in many ways without appreciable results, so I switched to phenolic resin.
Why a so unusual choice?
First of all, I completely eliminate the unwanted fuel relexation issue!
Second, I can use pure ethyl alcohol without any kind of issues (alcohol do no react with the internal aluminum
walls and it is easy to dry).
Third, the resin with alcohol permit to pack the mix much more, creating a very hard matter, especially after dried.
Also, I used phenolic resin and not red gum because it burns faster.
All the chems was overmilled together for many hours into a ballmill soaked in ethyl alcohol for obiouvsly safety reasons, then dried
and granulated with a 20 mesh screen.
Dried mix:
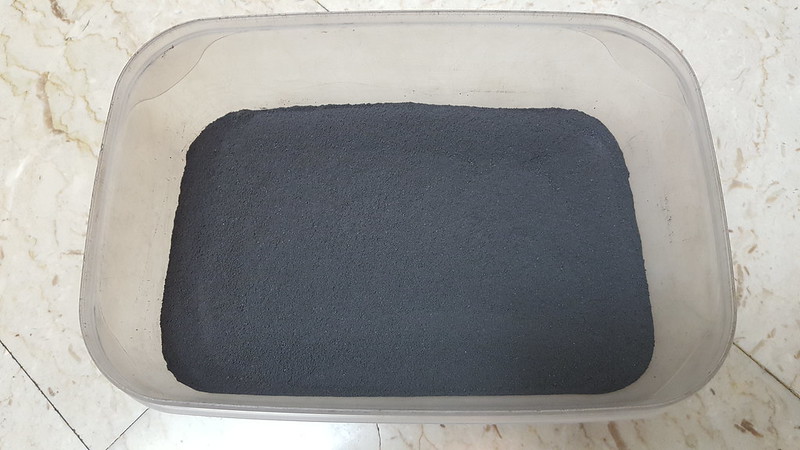
Wetted mix (few grams of pure, water free ethyl alcohol, the same used to make spirits):

This is a special custom set that I have built together the big aluminum tube:

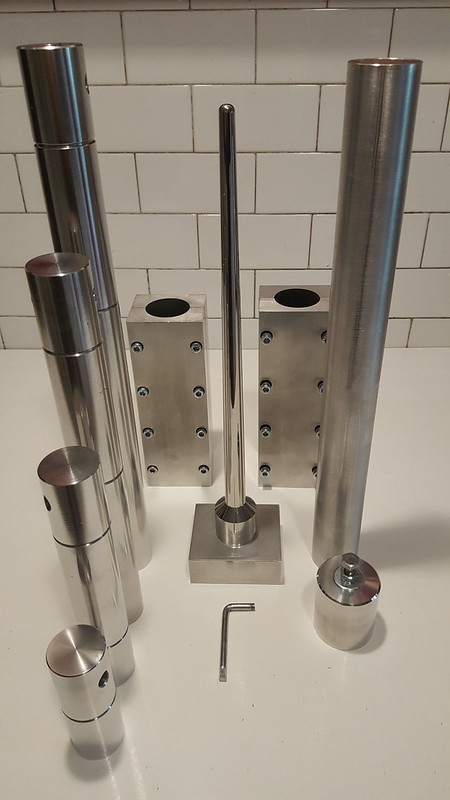
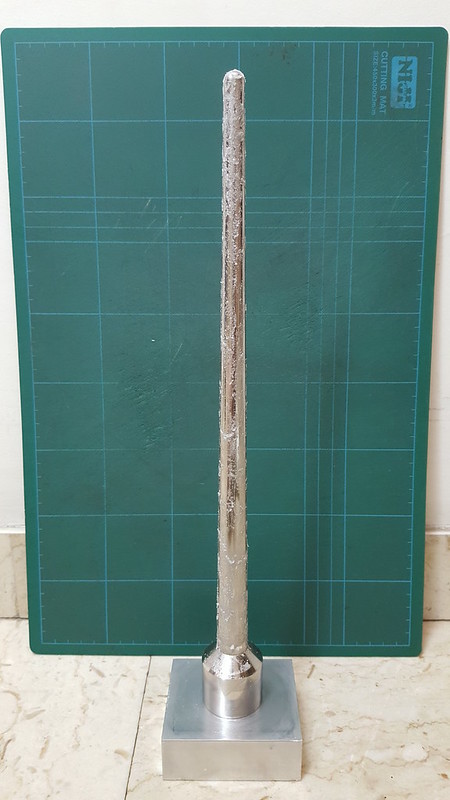
The first thing to do is to plenty wax the spindle to facilitate a lot the spindle extraction after the packing procedure.
I use a mix of 50% paraffin wax 50% turpentine, the same mix that I will use for waxing the internal walls of the
cardboard tubes:
Inserting and centering the aluminum tube:
 [/url]
Inserting the first part of the tube holder:

Inserting the second part of the tube holder:

Locking the tube holders:

The spindle is centered. Non perfectly centered, but acceptable:

Placing an handmade funnel over the top. I created this funnel cutting the upper part of a plastic bottle because it has a larger
aperture compared to the traditional kitchen funnels that permit me to spread better the mix inside the tube:

Starting to fill the tube with a spoon full of mix for every step:

The filling procedure, especially during the first steps, is a very delicate part because if the mix was not spreaded
homogeneously inside the tube, the spindle can run out of center. This happens especially when long spindles are used.
If this happen, the out-of-center spindle willl scrape against the hole of the second rammer when will be inserted, locking inside
the tube in a very bad manner, and in that case you will have to throw everything away! I have wasted some rockets and risked
to damage spindle and rammer before learning this important lesson!
So, the better way that I have found to avoid this is to look inside the tube if the spindle rest centered for every mix spoon.
If I note that the spindle goes out of center, the solution is very simple: I will tilt the tube in the direction where the spindle is at the
nearest point of the tube wall and put the next spoon of the mix keeping the tube holder tilted: the mix will accumulate in that
direction, so the rammer will make more pressure to the powder between the spindle and the internal wall, forcing the spindle to
move to the opposite direction.
I will repeat this procedure for every mix spoon until the spindle is centered again:

Pressing the mix with a 10 tons hydraulic press. Repeating the pressing procedure for every mix spoon:
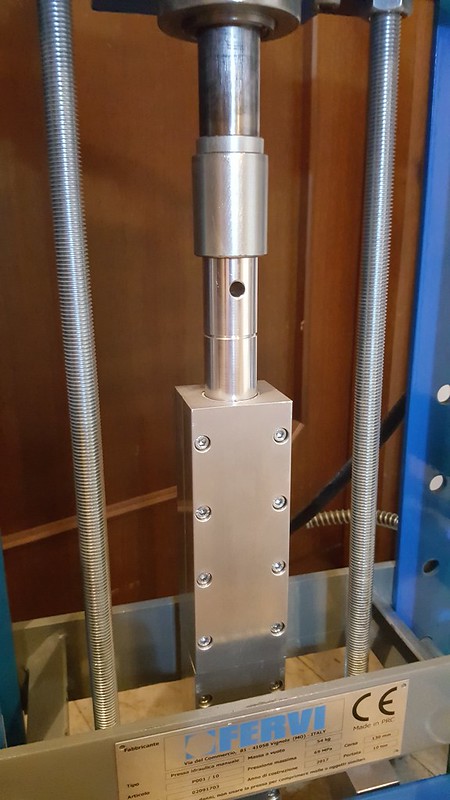
Since the pressure applied will vary for every rammer change, I must vary the tons applied to every rammer
to keep the 7500 PSI pressure needed.
The first rammer needs 4,4 tons:
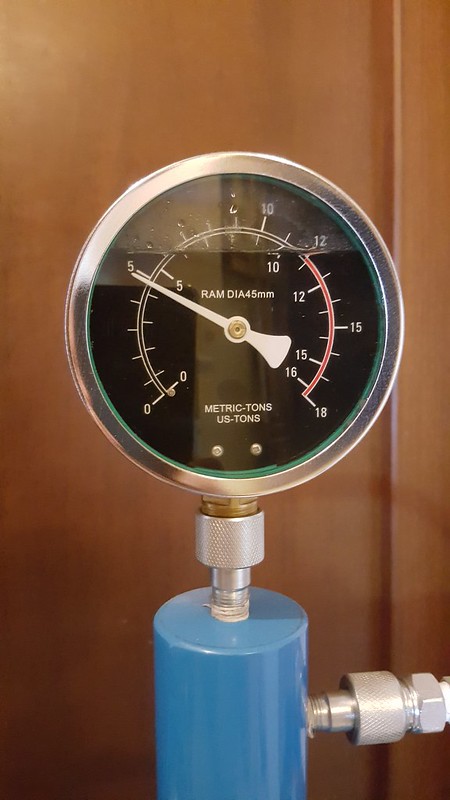
The second rammer needs 4,8 tons:

The third rammer needs 5,2 tons:
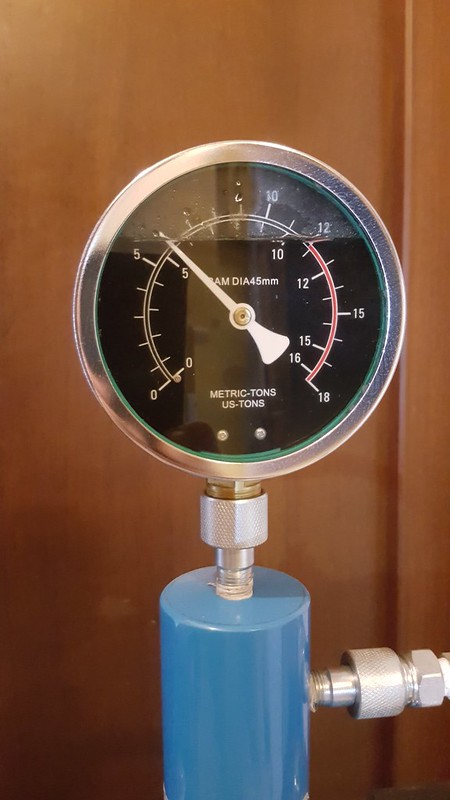
The fourth rammer needs 5,9 tons:

It is important to respect the reference rings before changing the rammer:

Extracting the tube from the tube holder.
The tube was not deformed or shortened in any way:

I have been missing from this forum for some time.
I have not forget the years that I spent here with You but ... I have lost interest in the laser world, sorry.
Besides this, I have severe lack of money and my health is not good, so I will sell soon some items of my collection here.
I'm going through a very bad period of my life.
Luckly, I'm making huge progress in the fireworks field.
I built and launched a giant rocket with a 8" shell attached on the top containing Kamuro stars with strobe cores and
dragon eggs.
I created and perfectioned a new rocket with a new custom hybrid propellant mix.
I used a mix of BP and KP: 20 parts of KP for every 100 parts of BP.
Please remember that "KP" term is not the perchlorate acronym as often is mislabeled but the Shimizu burst charge formula:
70% Potassium perchlorate
18% Charcoal
12% Sulfur
02% Dextrin
Then, I added 2% of titanium sponge 400-1000 for a nice tail and finally 5% of phenolic resin.
Why phenolic resin?
Well, I suffered important fuel relaxation using BP with 2% paraffin wax into an aluminum tube.
Same soup increasing the wax percentage or using 1% water instead.
I tried to scratch the internal walls of the tube in many ways without appreciable results, so I switched to phenolic resin.
Why a so unusual choice?
First of all, I completely eliminate the unwanted fuel relexation issue!
Second, I can use pure ethyl alcohol without any kind of issues (alcohol do no react with the internal aluminum
walls and it is easy to dry).
Third, the resin with alcohol permit to pack the mix much more, creating a very hard matter, especially after dried.
Also, I used phenolic resin and not red gum because it burns faster.
All the chems was overmilled together for many hours into a ballmill soaked in ethyl alcohol for obiouvsly safety reasons, then dried
and granulated with a 20 mesh screen.
Dried mix:

Wetted mix (few grams of pure, water free ethyl alcohol, the same used to make spirits):

This is a special custom set that I have built together the big aluminum tube:


The first thing to do is to plenty wax the spindle to facilitate a lot the spindle extraction after the packing procedure.
I use a mix of 50% paraffin wax 50% turpentine, the same mix that I will use for waxing the internal walls of the
cardboard tubes:

Inserting and centering the aluminum tube:

Inserting the first part of the tube holder:

Inserting the second part of the tube holder:

Locking the tube holders:

The spindle is centered. Non perfectly centered, but acceptable:

Placing an handmade funnel over the top. I created this funnel cutting the upper part of a plastic bottle because it has a larger
aperture compared to the traditional kitchen funnels that permit me to spread better the mix inside the tube:

Starting to fill the tube with a spoon full of mix for every step:

The filling procedure, especially during the first steps, is a very delicate part because if the mix was not spreaded
homogeneously inside the tube, the spindle can run out of center. This happens especially when long spindles are used.
If this happen, the out-of-center spindle willl scrape against the hole of the second rammer when will be inserted, locking inside
the tube in a very bad manner, and in that case you will have to throw everything away! I have wasted some rockets and risked
to damage spindle and rammer before learning this important lesson!
So, the better way that I have found to avoid this is to look inside the tube if the spindle rest centered for every mix spoon.
If I note that the spindle goes out of center, the solution is very simple: I will tilt the tube in the direction where the spindle is at the
nearest point of the tube wall and put the next spoon of the mix keeping the tube holder tilted: the mix will accumulate in that
direction, so the rammer will make more pressure to the powder between the spindle and the internal wall, forcing the spindle to
move to the opposite direction.
I will repeat this procedure for every mix spoon until the spindle is centered again:

Pressing the mix with a 10 tons hydraulic press. Repeating the pressing procedure for every mix spoon:

Since the pressure applied will vary for every rammer change, I must vary the tons applied to every rammer
to keep the 7500 PSI pressure needed.
The first rammer needs 4,4 tons:

The second rammer needs 4,8 tons:

The third rammer needs 5,2 tons:

The fourth rammer needs 5,9 tons:

It is important to respect the reference rings before changing the rammer:

Extracting the tube from the tube holder.
The tube was not deformed or shortened in any way:

Last edited:


